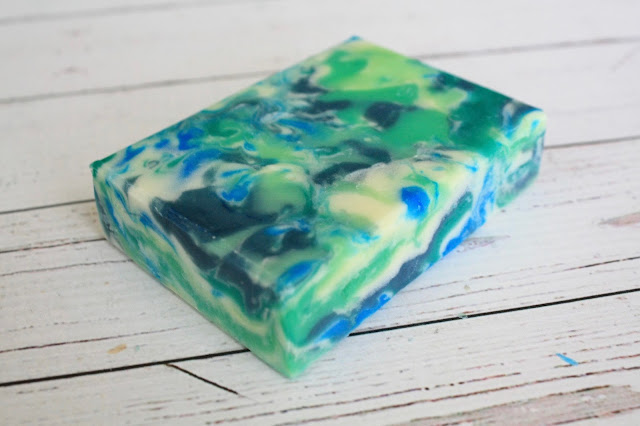
Wow this month's soap challenge was certainly something else! This pouring technique was unlike any other I've tried before. It not only required speed but was also a bit dangerous. Still, with proper cautionary measures, the fluid acrylic pour technique allows for so much flexibility and creates unique pieces of artwork. I will definitely be trying this one again!
I decided to use Brambleberry's Moroccan Mint FO (since it was one of the more well behaved FOs that I had on hand) and chose my colors to match. I went with an apple green, vibrant green (which is more of an earthy green before gelling), teal, zippy blue, and dark blue (blue mixed with some activated charcoal). I didn't want my colors to get too muddled, so I actually left about a third of my soap batter white to pour in between colors.
For my pouring technique, I poured a very thin layer of white on the bottom, and then poured the five colors in different spots throughout the mold. For each layer, I ended up pouring some white and some color on top before blowing with the straw (I used a Starbucks straw for this). I rotated the color placement for each layer. Here's a picture about 2/3 of the way done...
The batter definitely started thickening up towards the end. I found this part to be particularly dangerous, because I could see small bits of soap batter flying into the mold walls from the force of blowing. At two points, I had to pause to clean my face, because I felt like small bits of raw soap batter had landed on my forehead and cheek (fortunately I at least had googles on). I think I'll try using a longer straw next time so that my face doesn't have to get as close.
Here are pictures of the wet soap before heading into the oven to gel:
Funny how these soaps ended up looking kind of aquatic. I think I shall name it "Luminous Mirage." :) Thanks for reading!


