Friday, September 15, 2017

September 2017 Soap Challenge - 3D Jelly Soap

I didn't get a chance to try out the August soap challenge due to being out of town, but I was very intrigued by the September challenge! Finding the time was still difficult, so I only attempted this challenge once.

I had some unused clear 70mm plastic ornaments that I had originally bought for bath bomb molds. I made 4 soaps at once - 2 flowers and 2 sea urchins. I was planning to use multiple colors for both. The mold on the bottom left in the picture below shows the reference points that I had drawn for the sea urchin. The dots ended up being completely pointless and unhelpful because I couldn't see them while injecting cold process soap! The mold to the top right was for the flowers. 


I made all four soaps in the same batch, but worked on the sea urchins first. I used a melon baller to scoop out a dome for the body. My intent was to have different colored spines. I used light purple soap, neon magenta, and regular purple. I didn't need any gelatin art tools for this, just a needle & syringe.

The light purple didn't show up very well, unfortunately. I'd recommend vibrant colors only for 3D jelly soaps. It was also difficult to make the spines different lengths, as it's hard to gauge how far in the needle was going. I ended up not paying attention to the dots I had drawn on the mold and just freehanded the spines.

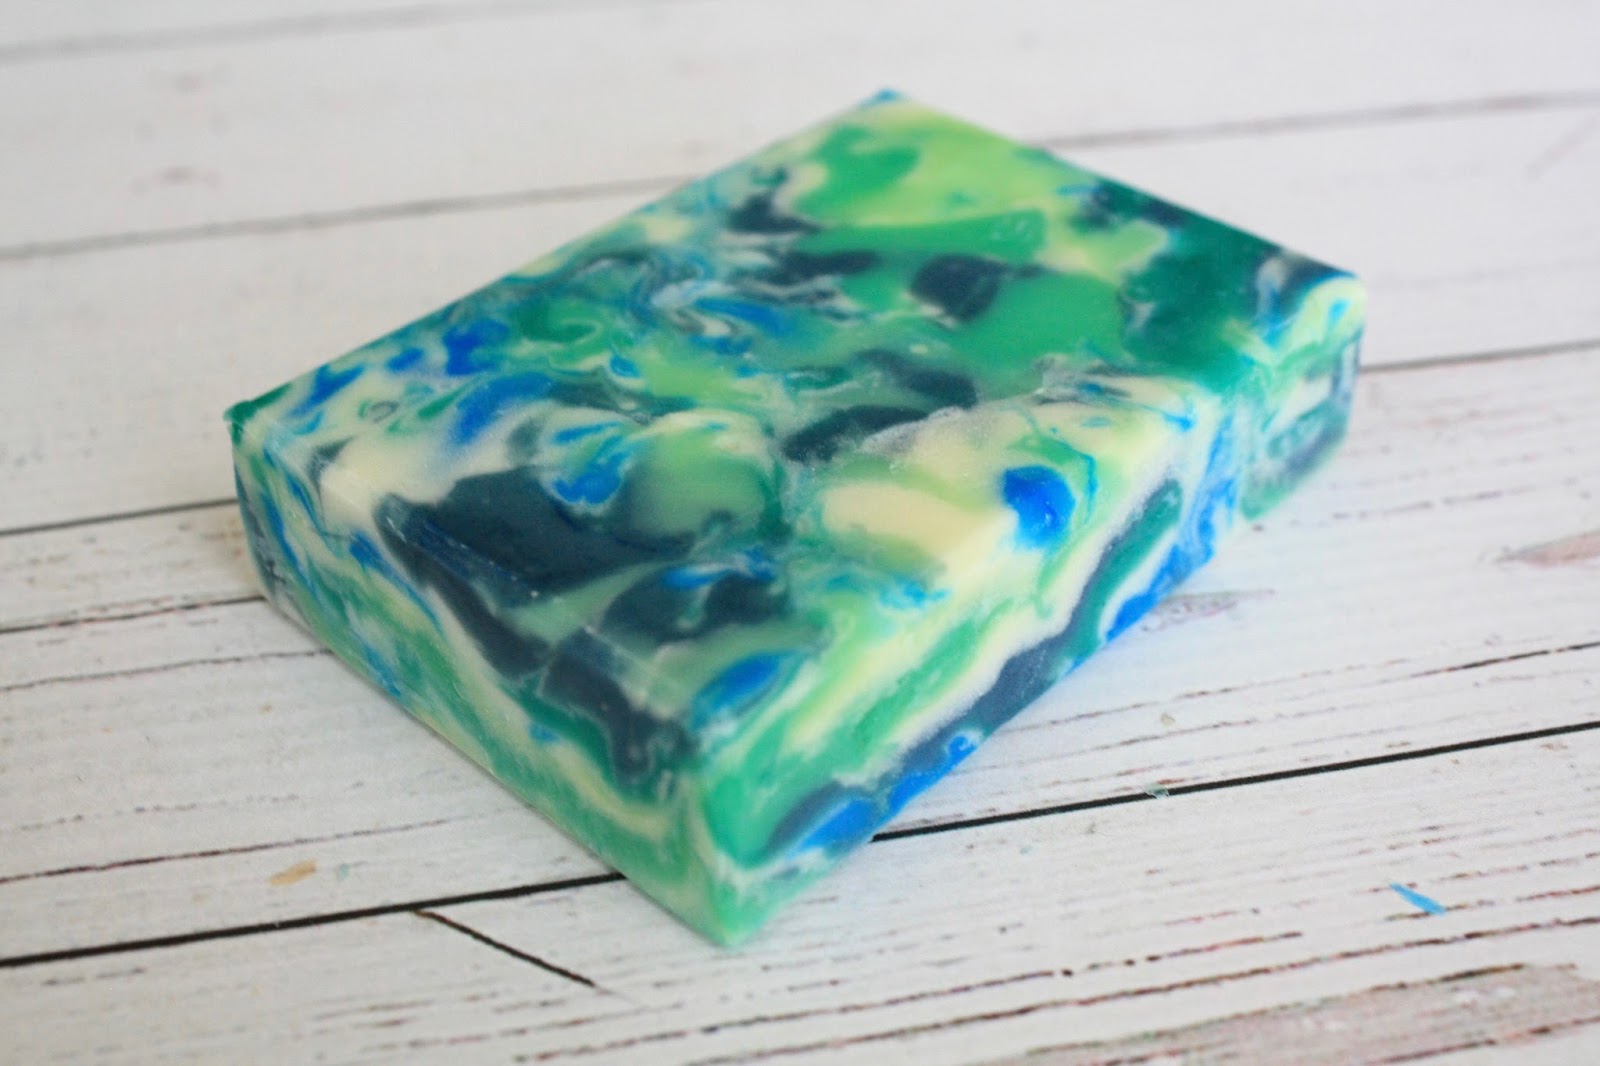
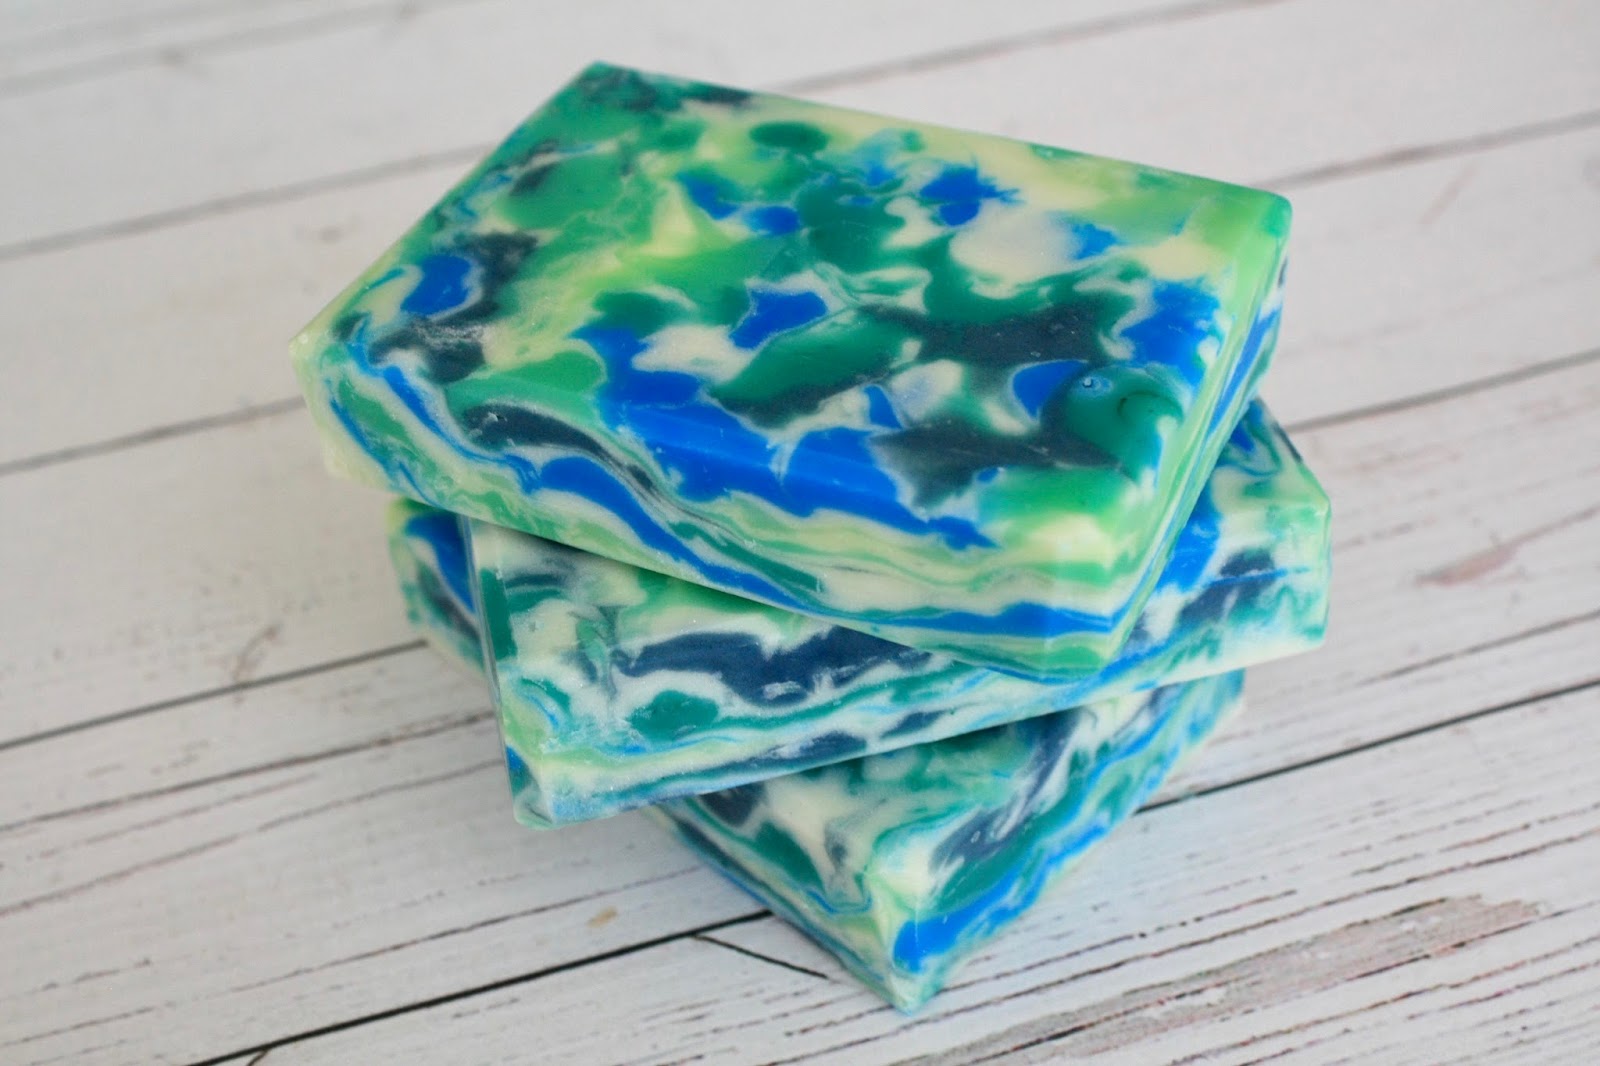
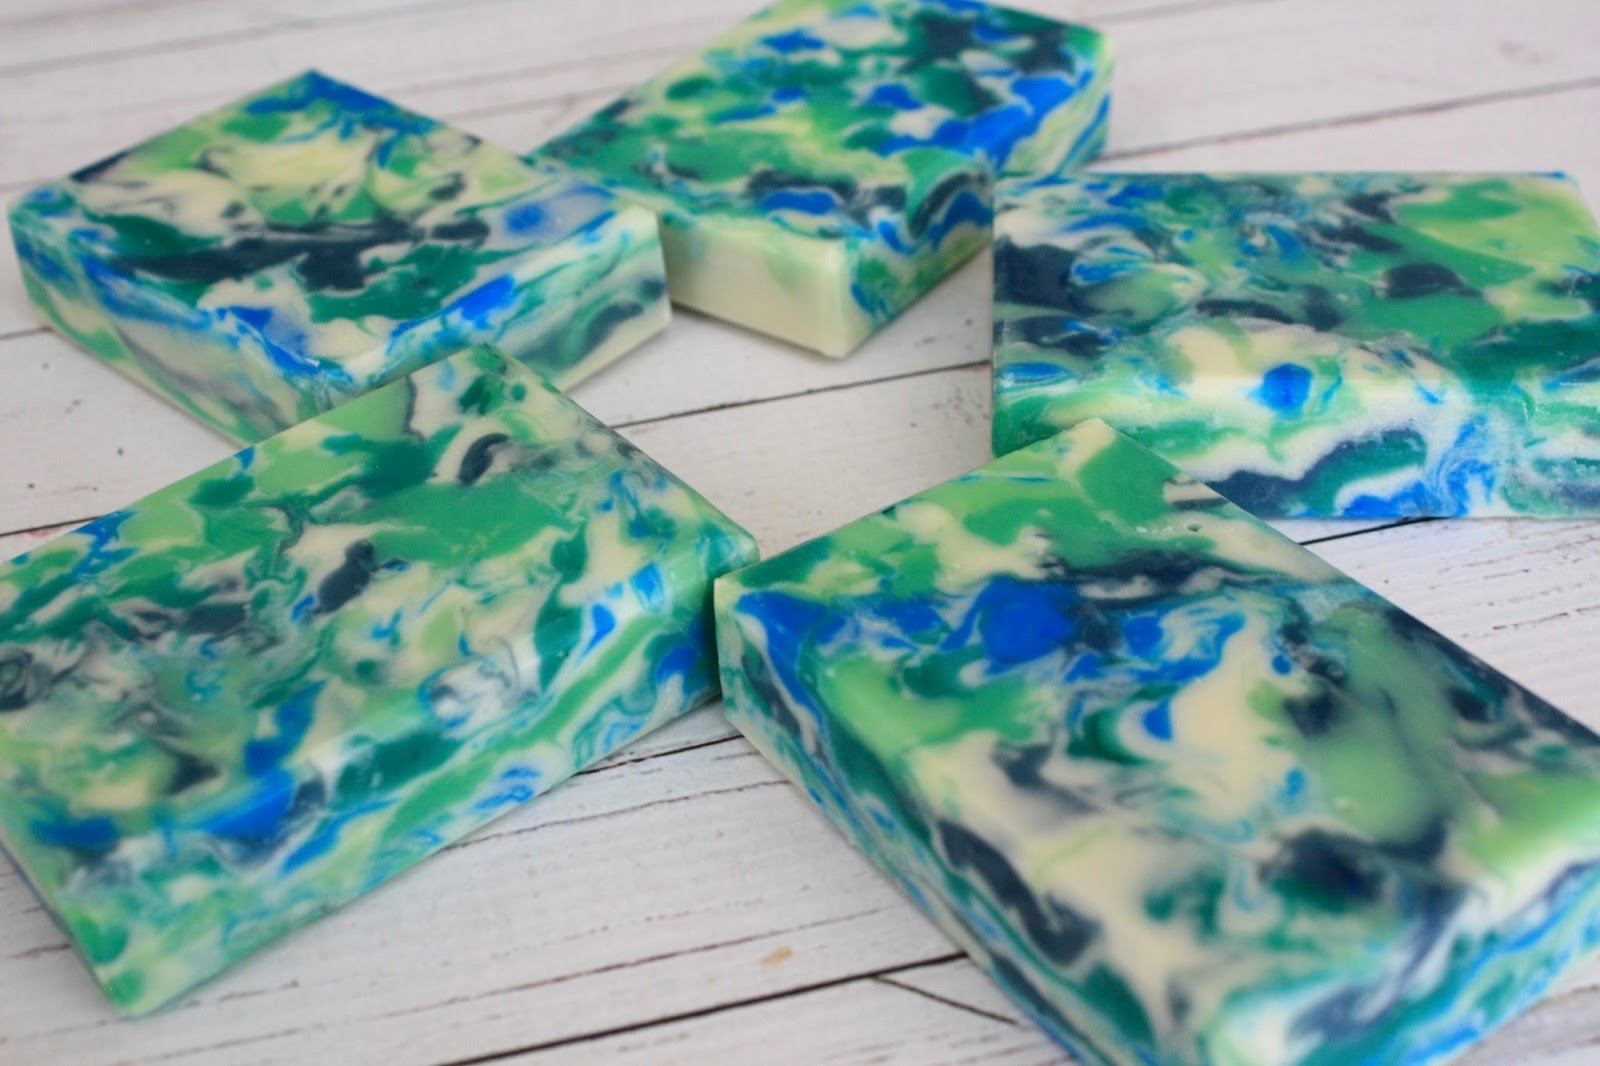
 I topped them off with turquoise colored M&P, which I think captures an ocean theme wonderfully.


Moving on to the flowers! I used a gelatin art tool to form the petals. I think I bought the same kit that everyone else did haha. I used different colors for the different rows of petals (light purple, magenta, red & purple) and topped it off with a light green M&P layer. The reference marks on the mold were more applicable for the flowers, even though visibility was still hard. Helene's tutorial was also very helpful! I was pleasantly surprised with how my flowers came out. :) 


On a side note, I had no idea that these 3D jelly soaps would be SO messy. I feel like I went through a roll of paper towels trying to clean the tools and oozing cold process batter off the soap, haha. Photography was also tricky, because these bad boys like to reflect everything! 

Thank you Amy and Helene for hosting this challenge! 

Friday, July 21, 2017

July 2017 Soap Challenge - Fluid Acrylic Pour

Wow this month's soap challenge was certainly something else! This pouring technique was unlike any other I've tried before. It not only required speed but was also a bit dangerous. Still, with proper cautionary measures, the fluid acrylic pour technique allows for so much flexibility and creates unique pieces of artwork. I will definitely be trying this one again!

I decided to use Brambleberry's Moroccan Mint FO (since it was one of the more well behaved FOs that I had on hand) and chose my colors to match. I went with an apple green, vibrant green (which is more of an earthy green before gelling), teal, zippy blue, and dark blue (blue mixed with some activated charcoal). I didn't want my colors to get too muddled, so I actually left about a third of my soap batter white to pour in between colors.

For my pouring technique, I poured a very thin layer of white on the bottom, and then poured the five colors in different spots throughout the mold. For each layer, I ended up pouring some white and some color on top before blowing with the straw (I used a Starbucks straw for this). I rotated the color placement for each layer. Here's a picture about 2/3 of the way done...

The batter definitely started thickening up towards the end. I found this part to be particularly dangerous, because I could see small bits of soap batter flying into the mold walls from the force of blowing. At two points, I had to pause to clean my face, because I felt like small bits of raw soap batter had landed on my forehead and cheek (fortunately I at least had googles on). I think I'll try using a longer straw next time so that my face doesn't have to get as close.

Here are pictures of the wet soap before heading into the oven to gel:


I ended up planing the tops since there was quite a bit of soda ash. The designs hidden underneath were amazing! I love how abstract the results are, and seeing what was under the surface was like finding hidden treasure. :D I'm tempted to keep these all of myself.


Funny how these soaps ended up looking kind of aquatic. I think I shall name it "Luminous Mirage." :) Thanks for reading!

Friday, June 23, 2017

June 2017 Soap Challenge - Ombre

Ombre soaps are one of my favorite types of soaps to make, and I've made quite a few in the past. I normally prefer straight layers, but the wall pour technique turns out beautifully as well. Here's a sample of some of my previous work:
I was really impressed by Amy's tall & skinny shimmy ombre soap, so I originally signed up this month to see how she made it. Although I haven't had a chance to try it myself, I definitely plan to give it a shot in the future. Instead, there's been an ombre soap that I've been wanting to make, so I thought that entering it into the challenge would be perfect.

For my project, I wanted to use Veronica Foale's diagonal ombre/wall pour technique in a tall & skinny mold. I've used her technique in a log mold before, but not a tall mold. Using teal, blue, and purple mica, I planned to make a mermaid-themed soap with an aquatic fragrance. The issue with acquatic/ozone fragrances, though, is that they tend to accelerate very quickly. I had WSP's Abalone & Sea FO on hand - although I've used this FO in the past and the online reviews say that it behaves well, I was wary about how it'd behave with this technique...and I was right, it moved much more quickly than I would've liked, despite the slow-moving recipe. I somehow still managed to mix my colorant into the soap and pour the many layers into the mold, it just involved a lot of banging the mold on the counter. :)

Because time was precious, I didn't get any pictures while pouring. :( I basically started with fragranced, uncolored soap batter and gradually added colorant to it. I'd pour a layer down the side of the mold, mix a little mica into the soap batter, and repeat. I added teal mica for the first third, then added blue for the second, and added purple for the final third. Fortunately, the soap batter didn't get too muddled by the time I got to the purple. Here are some photos of the soap poured and decorated, before heading into the oven.


Then two days later, unmolded. I was very relieved with how it turned out and was excited to cut it!

Finally, here are the cleaned up bars! I'm calling these "Siren's Song"

While the layers could be more seamless, I'm still happy with the result. You wouldn't be able to tell that there are like 30+ layers to this soap!


This has been one of my favorite challenges thus far! Thank you Amy for continuing to put these challenges together!

Wednesday, May 24, 2017

May 2017 Soap Challenge - Soap Dough Butterflies!

It's been hard to find the time to participate in Amy Warden's Great Cakes Soapworks Soap Challenge Club, but I've really been wanting to learn how to make soap dough. Tatiana's dragon eye looks AMAZING and I've always been a fan of Sorcery Soap's creations. Thank you Amy and Tatiana for the wonderful tutorials!

I've worked with polymer clay many many years ago and decided to attempt the polymer clay cane technique for this challenge. Due to time constraints (and impatience), I used Bee's soap dough recipe (from Sorcery Soaps). I made a batch with 16 oz oil and divided the batch into four parts so that I could color them black, orange, yellow, and uncolored. I poured the soap batter straight into Ziploc bags so that I could error on the side of too much water rather than not enough. The dough ended up being a little sticky, but leaving it out for a little while helped(I didn't want to use cornstarch).

My goal for this challenge was to create monarch-like butterflies using the polymer cane technique with a simple green bar of soap as the base. Making the canes for the wings was VERY challenging, because soap dough isn't quite as elastic as clay. I started by blending the yellow and orange dough together, and then shaping them into parts that would make up the wing.
Added some black around the pieces...
It almost looks like unappetizing sushi, LOL! Please excuse the poor nighttime lighting. I made two of these with the intent of making the top wings different than the bottom wings. The challenge was squishing together what you see above and then working it into a foot-long cane. It probably took about an hour to compress the soap dough from a 3"x3"x1" piece to a 1"x1"x12" cane, it was craziness. Then came the slicing, lots and lots of thin slicing. My poor husband had to wait until 10pm to eat dinner that night lol.

Sorry I have no pictures of the canes, I was pretty frustrated by that point and didn't think to stop to take photos. I knew the design would not look consistent throughout the canes. But, after slicing the canes and putting the mirror images next to each other, I really loved how each pair of wings was unique.
Fortunately this batch made a lot of butterfly wings, so I don't have to worry about making them again anytime soon. :D I'm also very pleased with the vibrancy of the yellow and orange in the wings (I used Nurture Soap's yellow vibrance and orange vibrance micas). 

For the soap bar base, I tested out my Cafe de Savon square mold for the first time (there were lots of firsts for this batch). The mold worked wonderfully! I did an in-the-pot swirl with two shades of green and white, but the swirls weren't very obvious after cutting the bars horizontally. Oh well.

After I assembled the butterflies and stuck them onto the green base bars, I thought the bar still looked a bit plain. So I ended up embellishing the sides with little pieces of leftover soap dough. Overall, I wanted the final product to still be practical enough to use and maybe sell. Although, I'm wondering if I could actually sell these, because I'm worried about the little embellishments falling off from shipping or rough handling. Anyone have any thoughts on making sure delicate soap dough pieces stay put??

I made four bars in total, here are the results!!


If you look closely, you can see the differences in the butterflies!


Using soap dough definitely takes a lot of planning and preparation, but the possibilities are endless!